Including photos in our tutorial, we’ll walk you step by step through the process to prepare, stain, and seal a new unfinished wood door. Come along as we share our recommendations and process from our own DIY home experience!
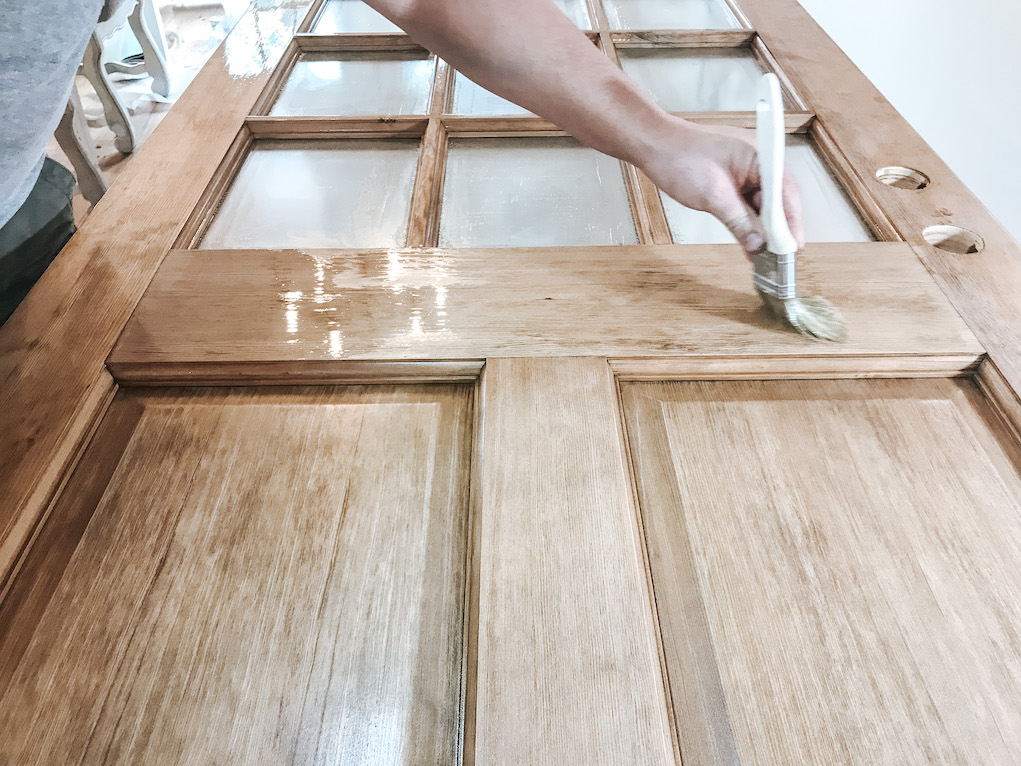
A four step process
There are four main steps to stain and seal a wood door.
- Prep the door.
- Choose the stain.
- Stain the door.
- Seal the door.
Supplies
- Saw Horses
- Vacuum with brush tip
- 8 oz Minwax Wood Finish Penetrating Stain (oil-based)
- One quart multi-mix container
- Stir Sticks
- Trimaco SuperTuff Staining Pads
- Sand paper (220 grit)
- HDX Tack Cloth
- 32 oz Minwax Indoor/Outdoor Helmsman Spar Urethane Clear Semi-Gloss
- Wooster 2 1/2 Angle Bristle Brush
Step 1: Prep the Door
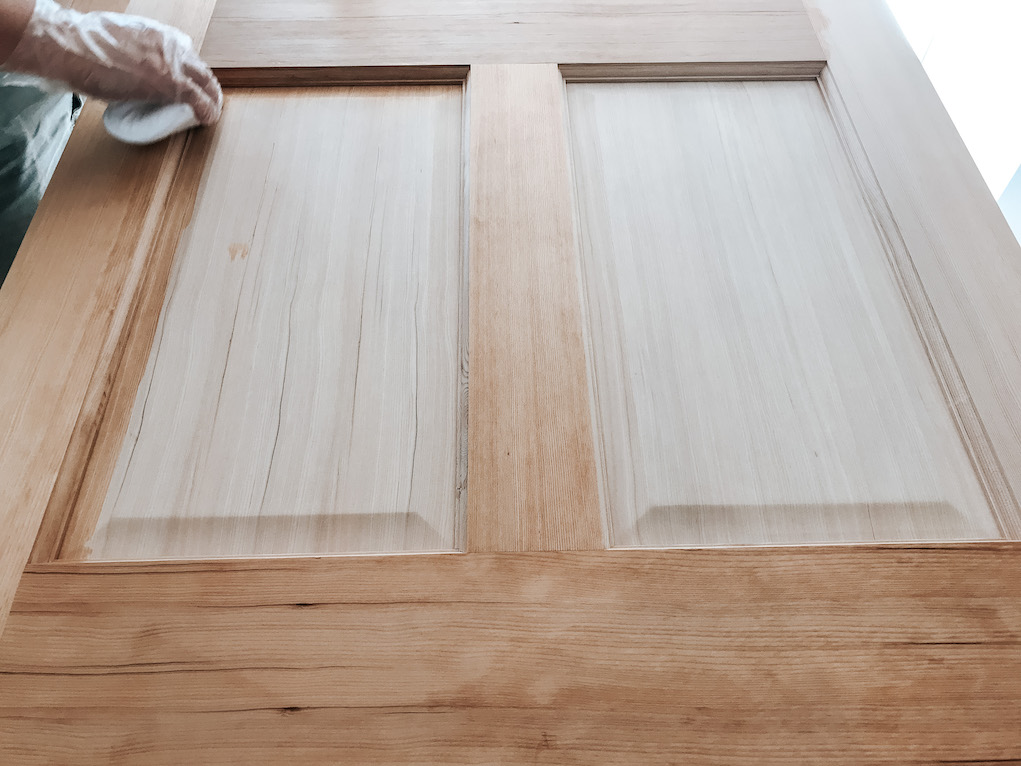
In an earlier post, we walked through the step by step process to prepare a bare wood slab door for stain. These steps, including modifying the door, cleaning the door, and pre-conditioning the door are important because they impact the final look and fit of your new door. Read our post on how to prepare a bare wood door for stain.
Step 2: Choose a Stain
Now that you’ve completed the preparation needed for your new door, it’s time to choose a stain color. Choosing a stain or mixture of stains can make a simple door, look custom.
Already have stained wood on the exterior of the home or interior wood floors? As you choose a stain, consider what tones will complement the wood you already have.
Does your door get direct sunlight? Direct sunlight will make a stain appear lighter, while shadow will make a stain appear darker. Direct sunlight will also fade a color sooner than a door in shade.
Remember that piece of wood you saved from the bottom of the slab door? You’ll need it now! Pick a few stain colors from the store and start sampling. Make sure to purchase oil base stain for exterior doors because oil base will better protect against the elements and the wood will last longer. You don’t want your wood door to swell. Let the stains dry fully before choosing. Stain will lighten as they dry.
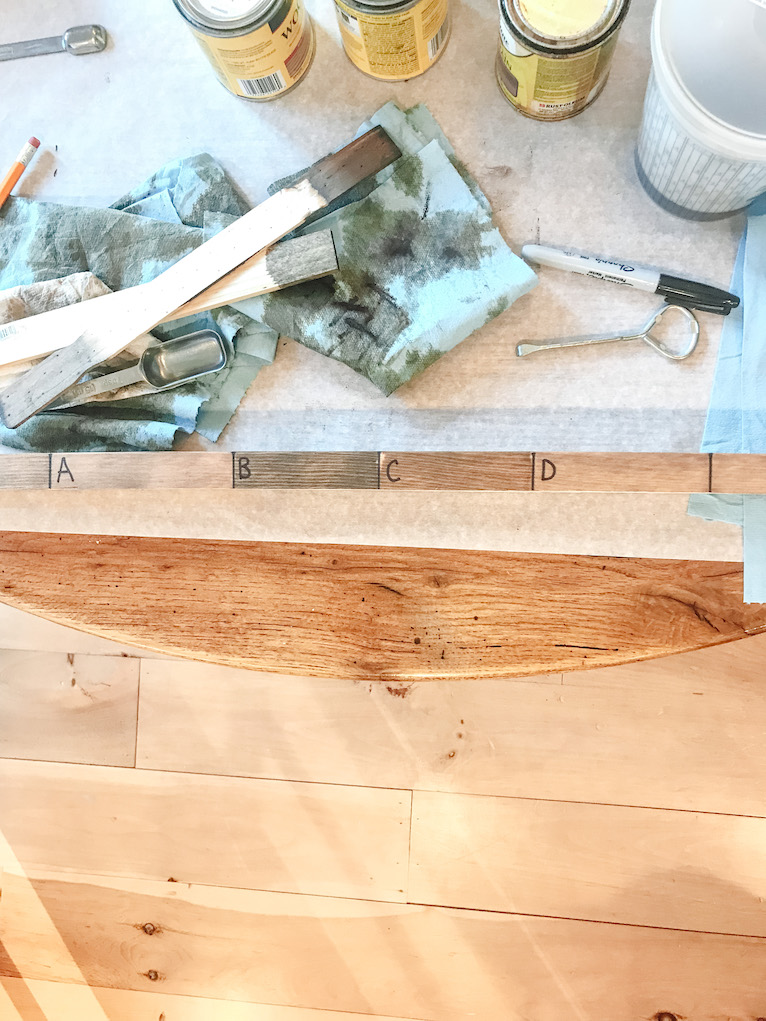
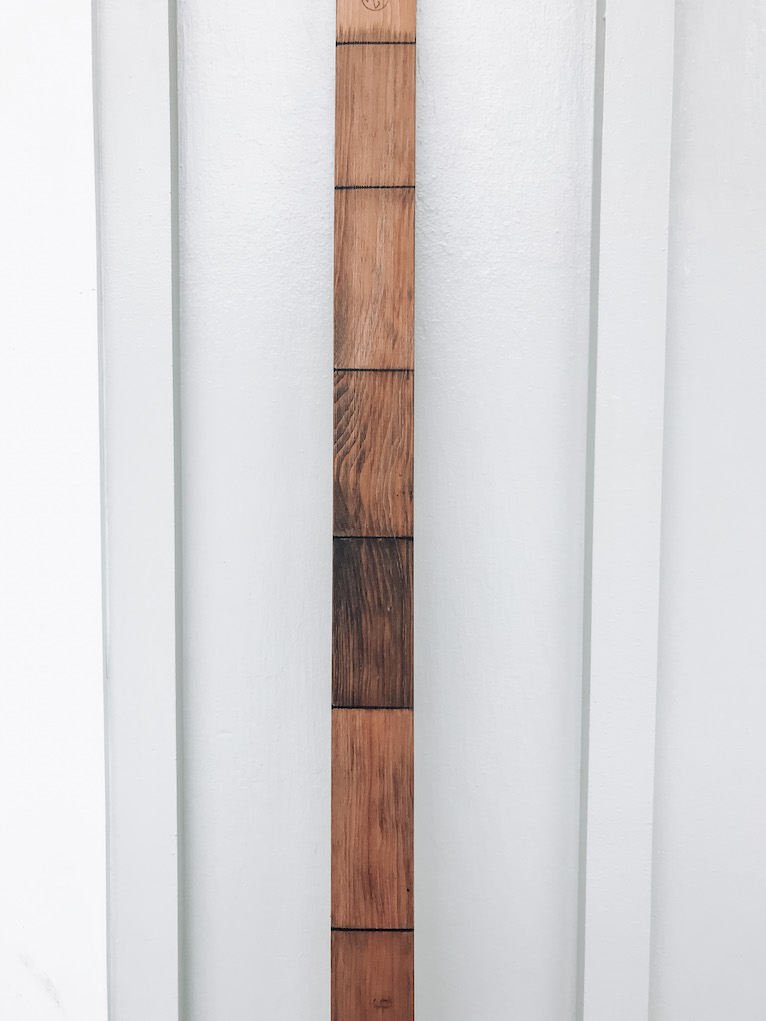
We wanted a warm brown stain, so we tested Early Walnut and Dark Walnut. We also knew the door we chose was made of fir wood, so yellow tones may appear. To counter this, we bought Driftwood Gray.
As we sampled different combinations of colors, we made note of what we were mixing, so not to forget. We also held the sample piece against our floors and took the piece of wood outside to look at it next to our exterior of house color. By doing these things, we easily found which stain was best for our home.
We decided dark walnut was too dark for our shadowed front door area, so we mixed 2 part Minwax Oil-Based Wood Finish Semi-Transparent Early Walnut with 1 part Minwax Oil-based Wood Finish Semi-Transparent Driftwood for a light brown door.
Remember, all wood has variation of color, so you’ll have some lighter and some darker sections on your door. This is called character!
If you choose to mix colors for a custom color, make sure to make enough to stain both sides of the door and sides. A one quart container with a lid is a great option for storing your custom stain.
Step 3: Stain the Door
If you are mixing stain colors to create a custom color, you’ll need to premix about 8 ounces of stain total.
With the door horizontal on saw horses, use a staining pad to liberally apply the stain while keeping a wet edge. Remember, it’s important to apply the stain in the direction of the grain. Going against the grain will cause the stain to go on splotchy. Don’t forget to stain the edges!
Allow the stain to sit on the wood for 5-15 minutes, so it penetrates the wood. The longer the stain stays on the wood, the richer the color. After your desired time, wipe away access statin with a clean staining pad.
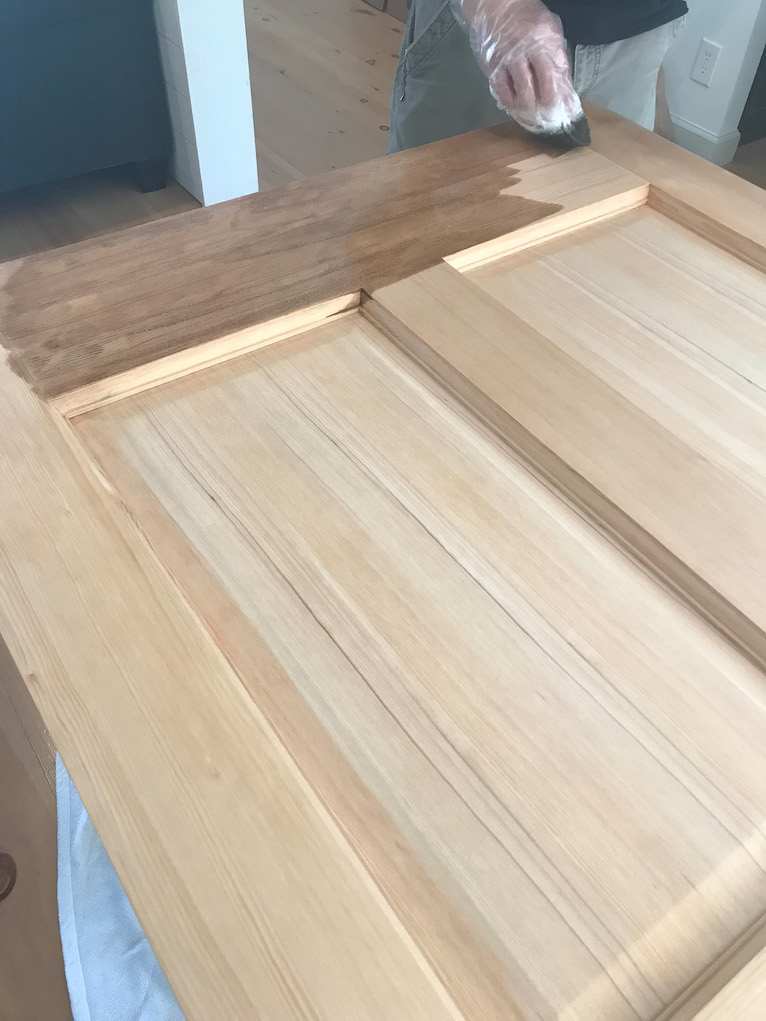
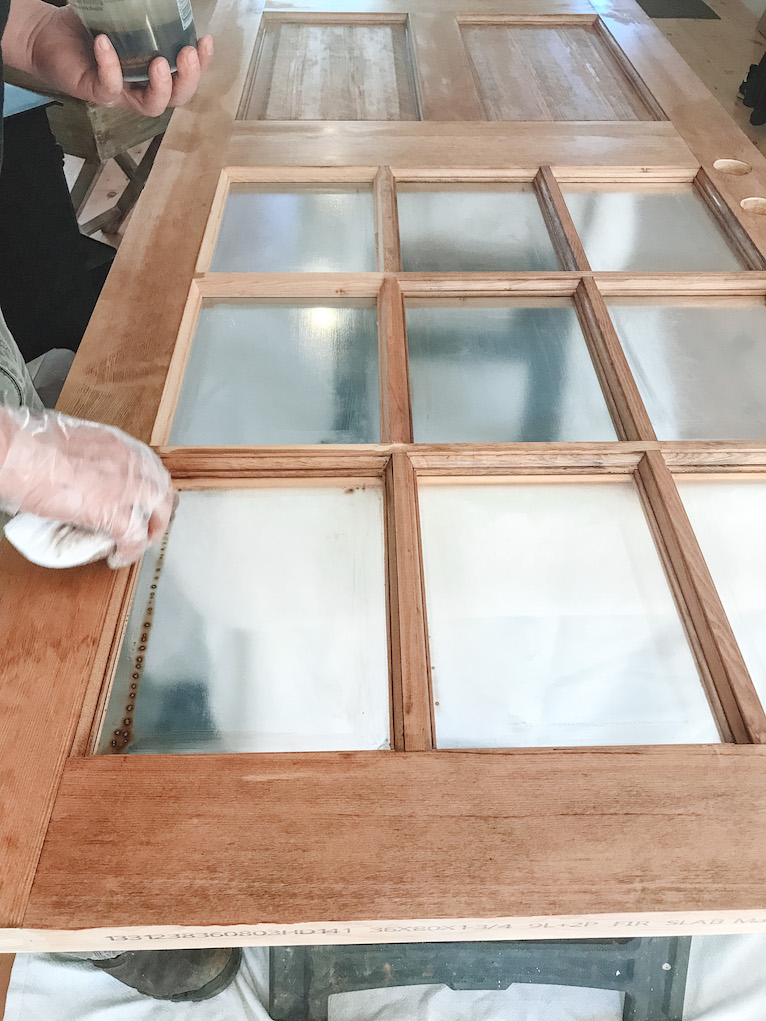
We applied one coat of our custom color and waited 15 minutes before wiping the excess stain off with a clean staining pad.
We opted for only one coat of stain since our door is in a shaded covered area. If you’d like a darker color, wait two hours to dry, then repeat the staining process with a second coat. Once you are happy with the color of this side of the door, flip you door and repeat with the other side.
Step 4: Seal the Door
To protect your door from the elements, seal the door with an exterior urethane sealer. The exterior side of the door will need 3 coats brushed on. The interior will need 2 or 3 coats, depending on traffic and usage.
Of the whole process, from preparing a bare wood door to stain, to hanging the finished door, applying a sealer is by far the most tedious. Of the total five day process for us, this step took two days.
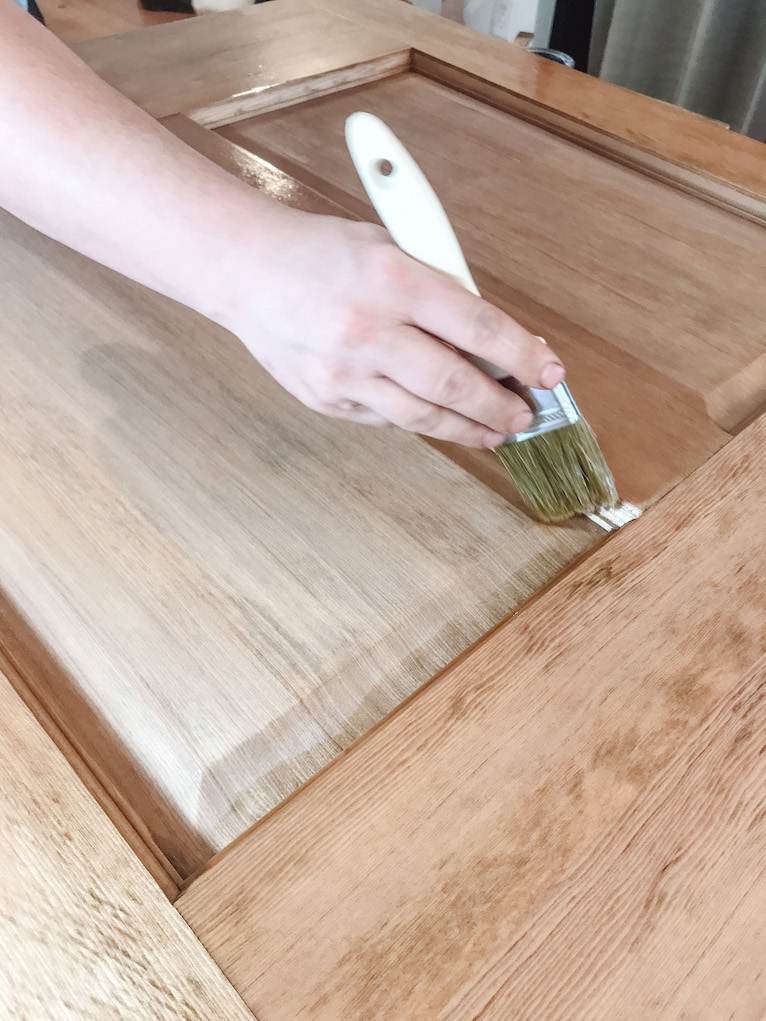
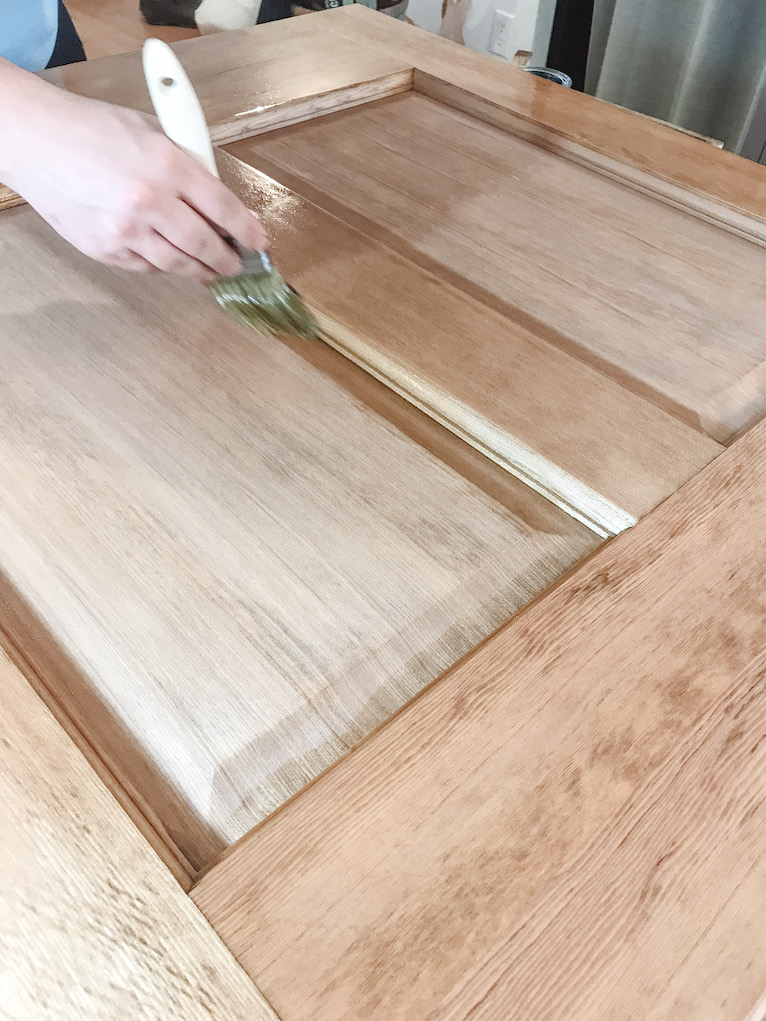
Sealing the door takes so much time because the dry time between coats is four hours. Not only this, but you will need to lightly sand and clean the door between coats as well.
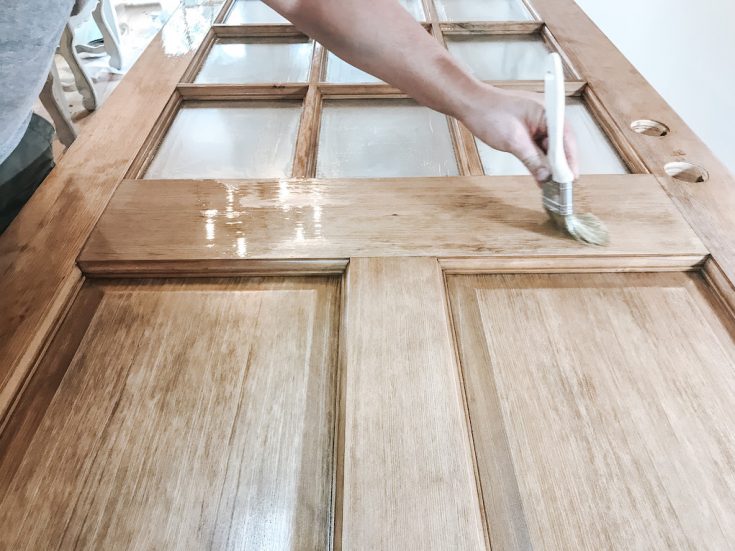
Apply the first coat of sealer to one side of door with a brush directly onto wood surface. Again, apply in the direction of the grain and don’t forget the edges. Regularly check brushed on areas for sagging and drips. After coating, wait four hours to dry.
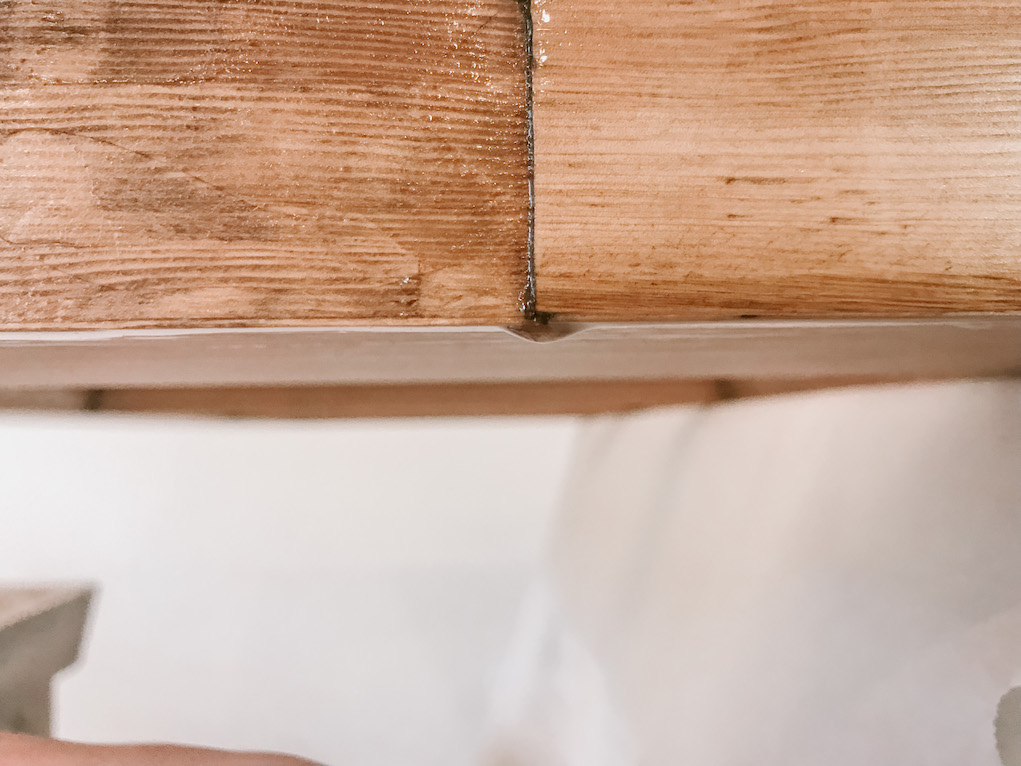
After 4 hours of dry time, lightly sand the door with 220 grit sand paper. Vacuum the dust using a brush applicator. Then wipe the door with tack cloth to remove any fine sanding residue. Complete these steps between each coat of sealer.
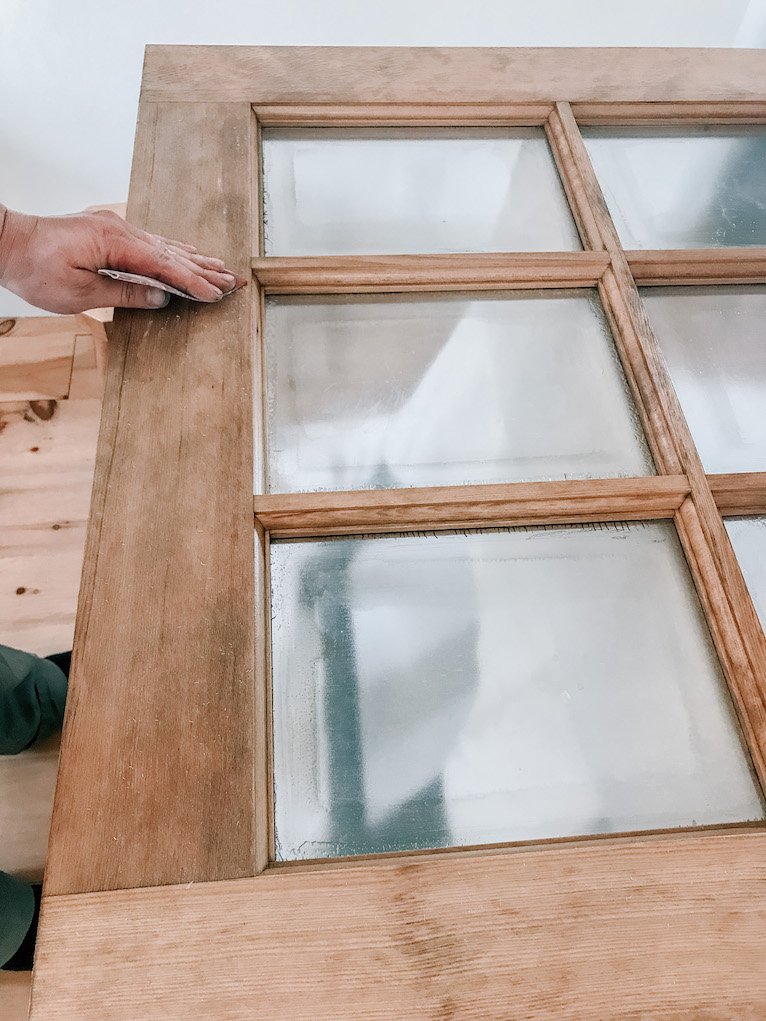
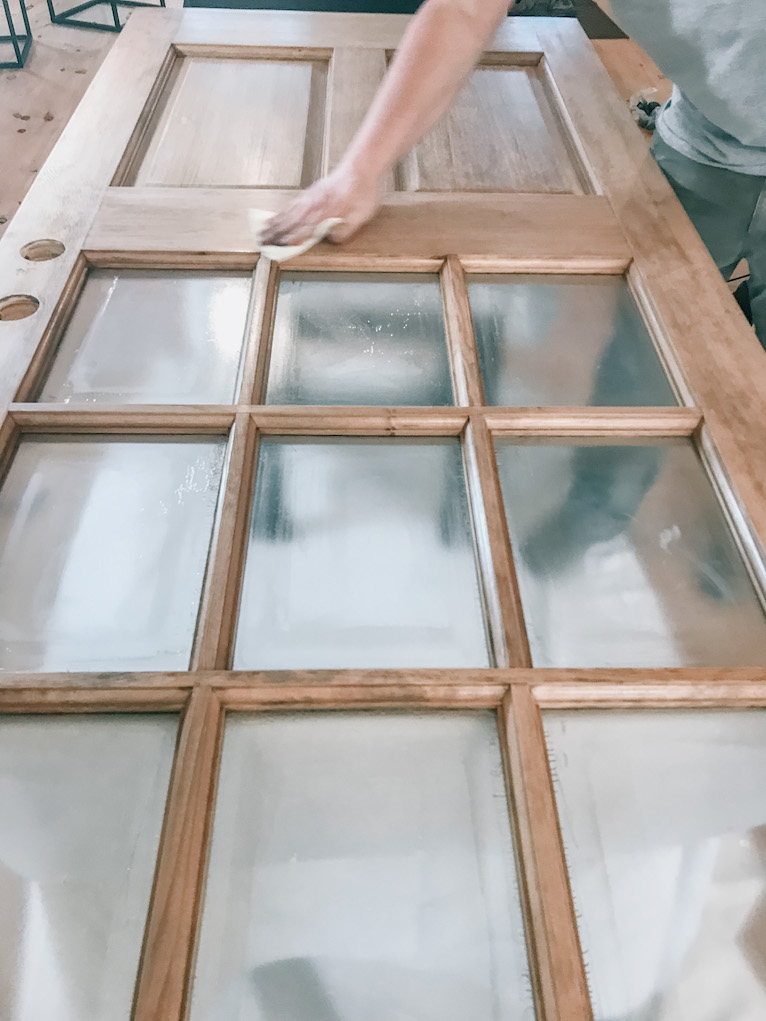
Allow the door to dry overnight before flipping and sealing the other side.
We decided on three coats of sealer on the exterior side of door and only two on the interior side. We finished one side in one day, and the other side on the second day. This gave ample time for drying.
After sealing both sides and edges, we recommend not moving the door for at least 12 hours. The oil-based sealer will be dry to the touch, but not completely hardened.
Once sealer is dry, you are ready to hand your door and install the hardware.
How to Stain a Wood Door
Materials
- 8 oz Minwax Wood Finish Penetrating Stain (oil-based)
- One quart multi-mix container
- Stir Sticks
- Trimaco SuperTuff Staining Pads
- Sand paper (220 grit)
- HDX Tack Cloth
- 32 oz Minwax Indoor/Outdoor Helmsman Spar Urethane Clear Semi-Gloss
- Wooster 2 1/2 Angle Bristle Brush
Tools
- Saw Horses
- Vacuum with brush tip
Instructions
- Prepare the door. If you have not completed the steps of modifying, cleaning, and preconditioning the door, you’ll want to follow the steps here to complete this step first. This step is critical to the final look and finish of the door.
- Using a piece of scrap wood from step 1, sample a few oil-based stain colors. Compare these colors against your floor and exterior of home to determine which color matches best. Remember to let the stain dry fully as it will lighten in color.
- If you are mixing stain colors to create a custom color, you’ll need to premix about 8 ounces of stain total.
- With door horizontal on saw horses, use a staining pad to liberally apply the stain while keeping a wet edge. Allow the stain to sit on the wood for 5-15 minutes, so it penetrates the wood. Remember, it’s important to apply the stain in the direction of the grain.
- After 5-15 minutes, wipe off access stain with a clean staining pad.
- Check drying time on the stain you chose. Normally, wait 2 hours for stain to dry. Then recoat for a darker color or flip the door to stain the other side. Don’t forget to stain the edges! Wait the recommended dry time before moving on to the next step.
- To protect your door from the elements, seal the door with an exterior sealer. The exterior side of the door will need 3 coats brushed on. The interior will need 2 or 3 coats, depending on traffic and usage.
- Apply the first coat of sealer to one side of door with a brush directly onto wood surface. Again, apply in the direction of the grain. Regularly check brushed on areas for sagging and drips. After coating, wait four hours to dry.
- After 4 hours, lightly sand the door with 220 grit sand paper. Vacuum the dust using a brush applicator. Then wipe the door with tack cloth to remove any fine sanding residue.
- Repeat steps 8 and 9 with the 2nd and 3rd coats of sealer. Make sure to sand and clean between each sealer coat.
- Allow the door to dry overnight before flipping and sealing the other side. Remember to seal the edges also.
- After sealing both sides and edges, we recommend not moving the door for at least 12 hours. The oil-based sealer will be dry to the touch, but not completely hardened.
- Once sealer is dry, you are ready to hand your door and install the hardware.

Great content! Keep up the good work!